
Mrs. Hulstrom |
Typing.com
(Join Class through Google Classroom)
Tynker Online Support Video Help
Code HS
Karel the Dog class code: 1251
Micro:Bits care and components:
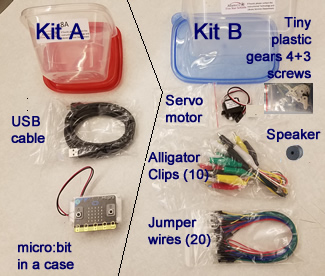
- Keep them all together as you are responsible for all of your kit's components!
- If your kit is missing anything or was not put away correctly, tell me immediately
- Only take out the ones you need that day
- "They took my ..." does not work as an acceptable excuse - the fine will be on you.
- Steps for putting them away:
- Start with Kit A:
- Wind up the USB cable as it shows in the image above
- Put the cable back in the small baggie or use the twist tie
- Put the Micro:Bit in on top
- Seal the box
- Next Kit B:
- Take all 10 alligator clips and hold them aligned with one hand hanging down:
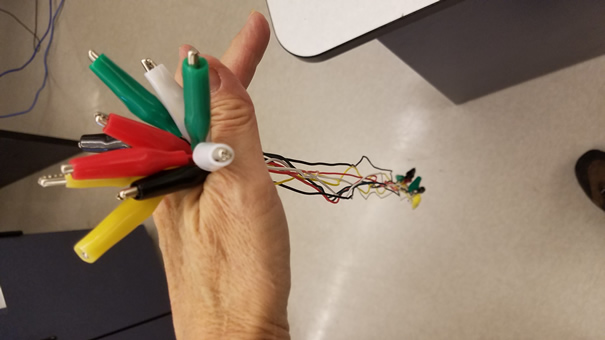
- Next, wind them loosly around your fingers:
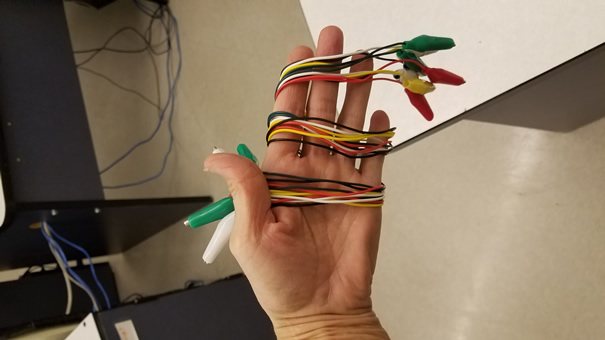
- Then, slide them off your hand and pinch them with your thumb and fingers:
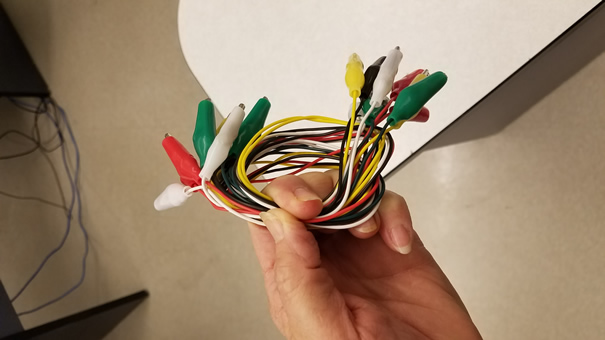
- Now, put the twist tie around the rolled up cables:
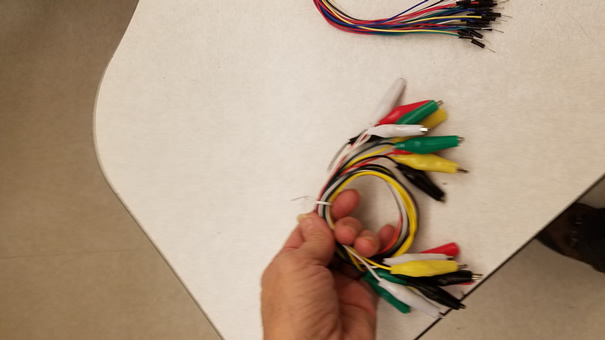
- That goes in the bottom of the B Box
- Then take care of the other connection wires - There are 20 of them! Hold them in one hand:
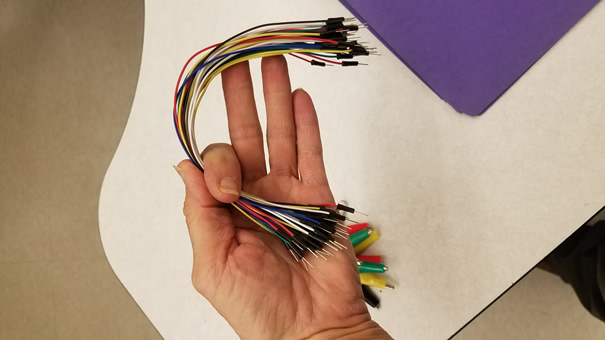
- Twist them around in a circle, and pinch them between your thumb and finger:
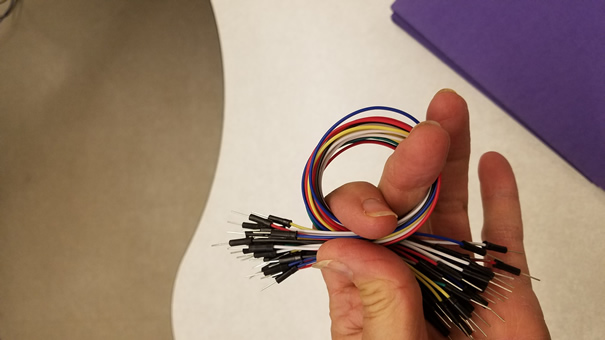
- Now stuff them into the other plastic bag, or put the twist tie on them, they go in the B box next!
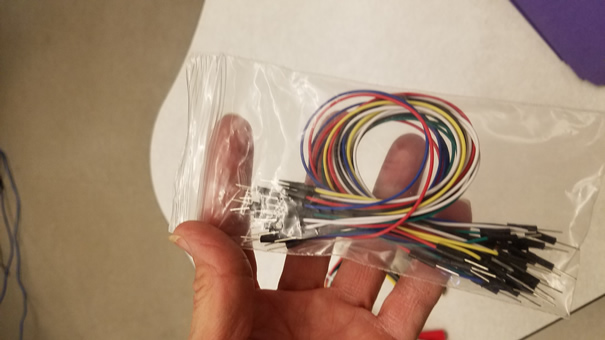
- Last: In the tiny plastic bag,are where the gears and screws for the servo mini motor are kept:

- That tiny bag should have 4 plastic parts and 3 tiny black screws - zip it shut!
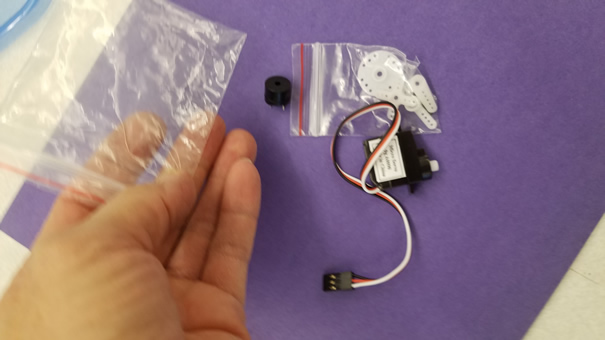
- Then, put the tiny plasic bag into the bigger plastic bag, and add the Speaker, Servo motor, to the bag and zip it!

- Put it on the top in the B Box, and seal it up!!!!
- Take all 10 alligator clips and hold them aligned with one hand hanging down:
- Start with Kit A:
12551 Holly Street
Thornton, Colorado 80241
720-972-5040